This is a step-by-step guide for when you are initially publishing your app in the Google Play Store for Android users. For submitting updates there is a separate, much shorter process.
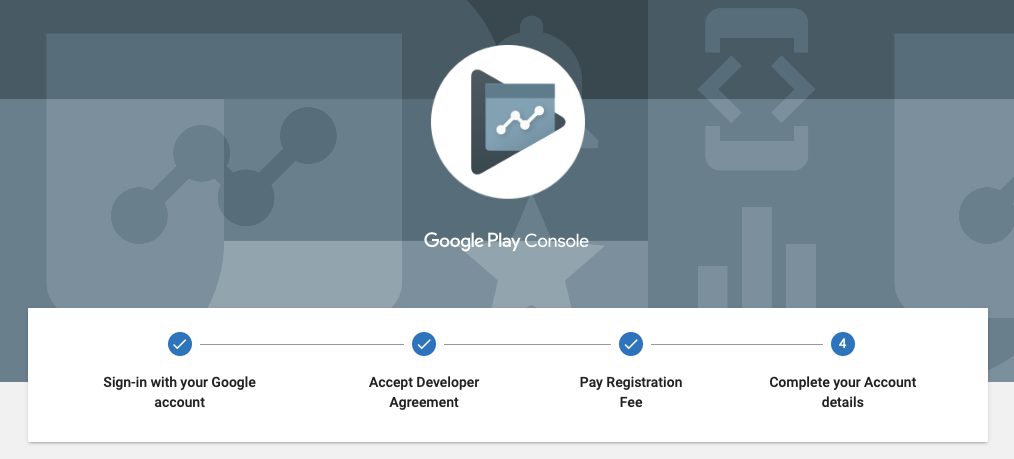
Step 1: Create a Developer Account
Before you can publish an app on Google Play, you need to create a Developer Account. You can easily sign up for one using your existing Google Account (Gmail email address).
The sign-up process is fairly straightforward, and you’ll need to pay a one-time registration fee of $25. After you’ve reviewed and accepted the Developer Distribution Agreement, you can proceed to make the payment using your credit or debit card.
To finish the sign-up process, fill out all your necessary account details, including your Developer Name, (or organization name) which will be visible to your customers on Google Play. You can always add more details later.
Also, do remember that it can take up to 48 hours for your registration to be fully processed.
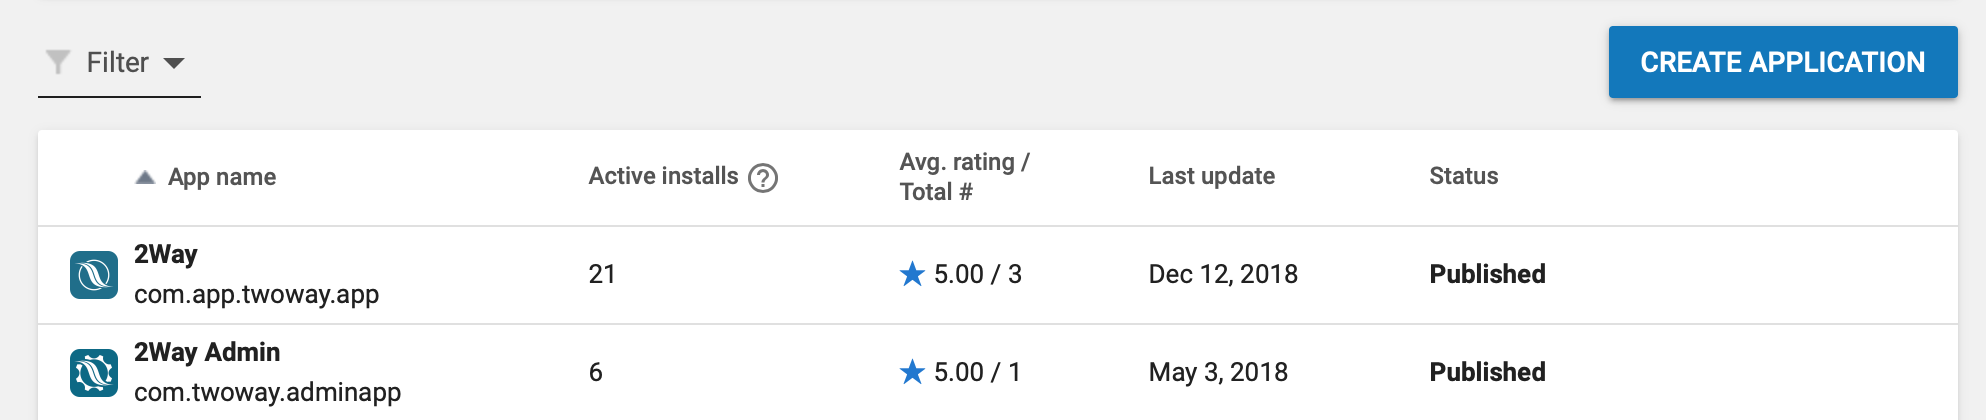
Step 2: Create an App
This part is done by the 2Way developers, creating the app and uploading the APK file.
Step 3: Prepare Store Listing
Before you can publish your app, you need to prepare its store listing. These are all the details that will show up to customers on your app’s listing on Google Play.
Note: You don’t necessarily have to complete this step before moving on to the next one. You can always save a draft and revisit it later when you’re ready to publish.
The information required for your store listing is divided into several categories:
Navigate to Store Presence / Store listings
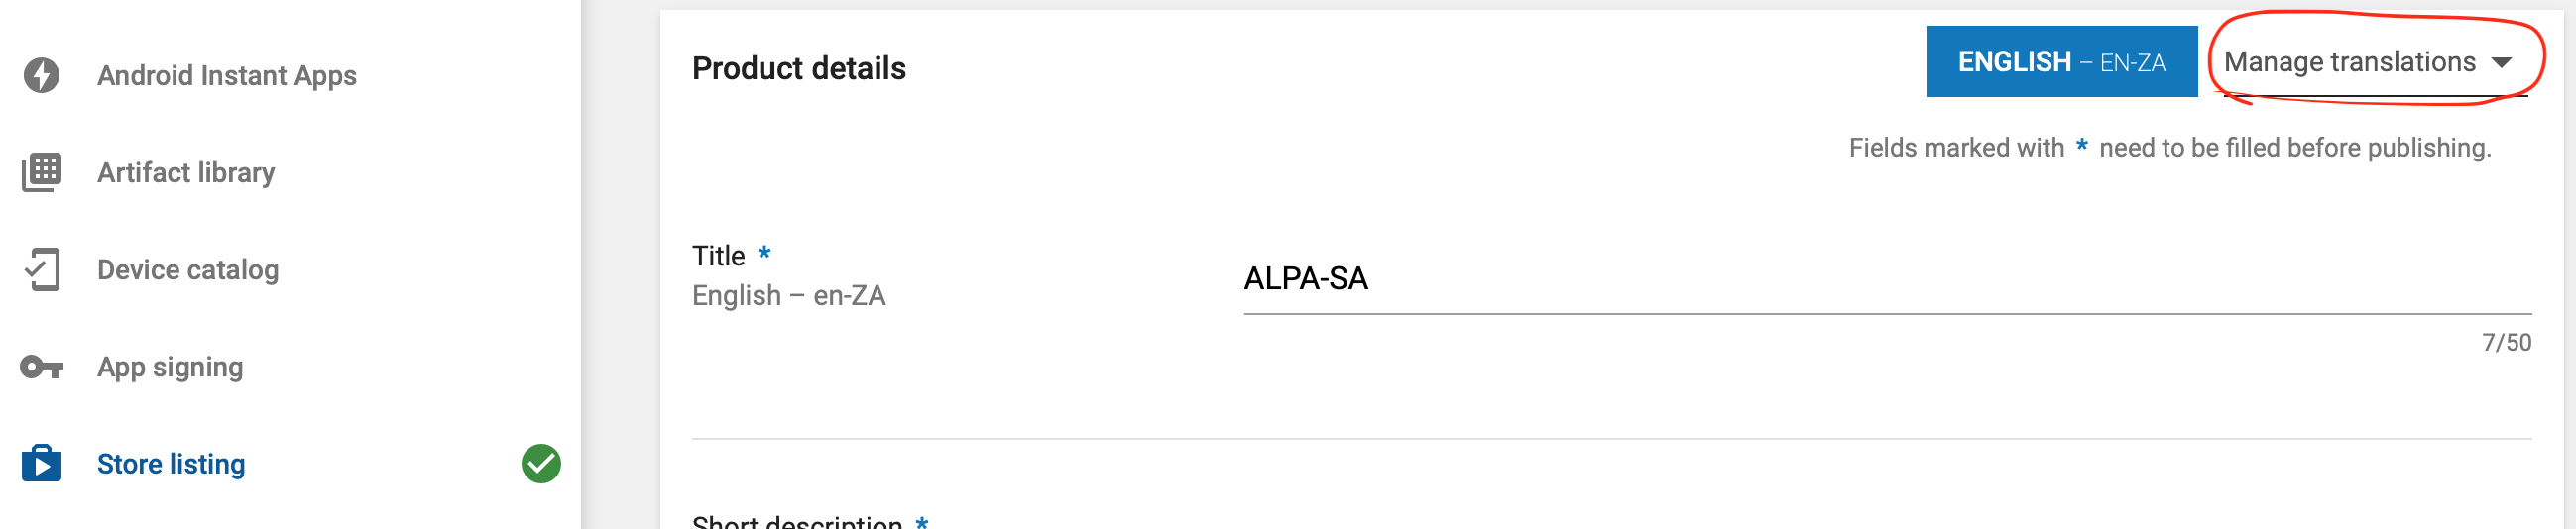
Product Details
There are three fields here that you need to fill out:
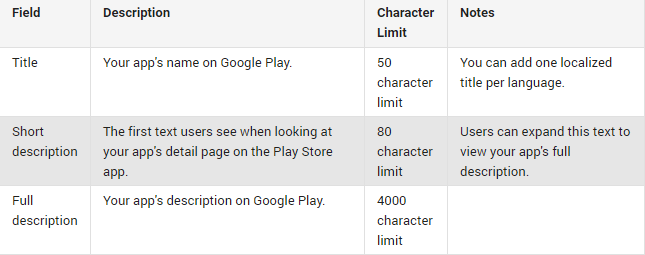
Your app’s title and description should be written with great user experience in mind.
Use the right keywords, but don’t overdo it. Make sure your app doesn’t come across as spam-y or promotional, or it will risk getting suspended on the Play Store.
Graphic Assets
Under graphic assets, you can add screenshots, images, videos, promotional graphics, and icons that showcase your app’s features and functionality.
Some parts under graphic assets are mandatory, like screenshots, a feature graphic, and a high-resolution icon. Others are optional, but you can add them to make your app look more attractive to users. Minimum of 2 phone screenshots required.
There are specific requirements for each graphic asset that you upload, such as the file format and dimensions. You can read more about each requirement here.
Languages & Translations
You can also add translations of your app’s information in the store listing details, along with in-language screenshots and other localized images.
There’s also an option for users to view automated translations of your app’s information using Google
Translate (with the exception of Armenian, Raeto-romance, Tagalog, and Zulu), in case you don’t add your own translations.
Categorization
This part requires you to select the appropriate type and category your app belongs to. From the drop-down menus we recommend:
Application type – Applications
Category – Productivity
Content rating – Go through the selection as you think is appropriate.
Contact Details
This part requires you to enter contact details to offer your members access to support regarding your app.
You can add multiple contact channels here, like an email, website, and phone number, but providing a contact email is mandatory for publishing an app.
Note that the app file (APK) has to be uploaded before providing the content rating.
Privacy Policy
For apps that request access to sensitive user data or permissions, you need to enter a comprehensive privacy policy that effectively discloses how your app collects, uses, and shares that data.
You must add a URL linking to your privacy policy in your store listing and within your app. Make sure the link is active and relevant to your app.
If no privacy policy is available for the time being, just add your website URL. You can always add later.
Step 4: Set Up Pricing & Distribution
Assuming your app will be FREE to members to download, you need to set it to FREE.

Remember, you can always change your app from paid to free later, but you cannot change a free app to paid.
For that, you’ll need to create a new app and set its price.
You can also choose the countries you wish to distribute your app in, and opt-in to distribute to specific Android devices and programs too.
Step 6: Rollout Release to Publish Your App
Before you review and rollout your release, make sure the store listing, content rating, and pricing and distribution sections of your app each have a green check mark next to them.

Once you’re sure you’ve filled out those details, navigate to ‘Release management’ — ‘App releases.’
For the next steps, managing testers and testing, please see this article or to move a build (version) from beta to Production (Live) please see this article.